
Step 1:
Go to your main home page on Facebook by signing in using your log in information. On the left hand side of your home page, you will see a menu with various options. Under the explore section, click on "events".

On the new screen, click "create event".

Here, you will be able to choose whether you would like your event private or public. For the purpose of getting people to share and talk about your event, you would want to choose "public".

Step 2:
In the new pop up screen that appears, you still have the opportunity to change the event from public to private if you change your mind. Where it says "event host", ensure that this is the Chapter Facebook Page if you have one. Otherwise you may leave it as yourself as the organizer. In this new pop up screen you will also need to input basic event details. Choose an event photo to represent the event, add a name to the event, include the location, start and end time and event details. The description of the event is one of the most important parts to possible attendees. This is how they decide if they want to attend that event. Choose up to three keywords that describe your event so that Facebook can recommend the event to people interested in those keywords. Next, decide who can edit or post in your event. Depending on the event, it may be wise to make a host approve the posts from others.

Step 3:
Create your event! If you do not want to post it yet because you are waiting for certain details or want someone to proofread it, you can save the event as a draft. If you would prefer your event to be created at a later date because maybe it is a Saturday that you are filling this out, but you do not want the event to go live until Monday, you can schedule the event creation for a future date and time.

Step 4:
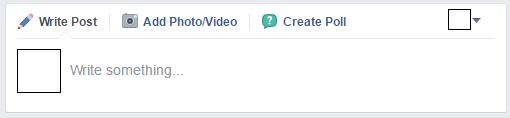
Edit your event page. When you choose "create" it will automatically take you to your new event page. From this page you can write a post, add a photo/video or create a poll for event followers to see.
You can also edit your page, share the event page with your friends or boost the event. Boosting the event means creating a Facebook advertisement and this costs money.
This page will also show you the interest and tentative attendance for your event.

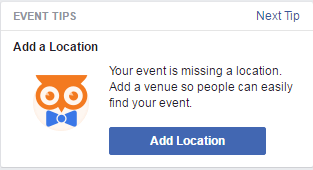
Facebook will also give you some event tips to better promote your event.
Step 5:
Enjoy your new hub for all things related to your event. Encourage people to share the event on their own accounts so the page reaches even more possible attendees. Make sure you monitor this page and answer any questions people may have.
In the world of technology, it is increasingly more easy to reach large audiences with event information. By creating an event page, you are creating a space where people can refer to for more information, questions and the option to share the event with their friends.
If you have more questions about creating a Facebook Event Page contact events@huntingtonsociety.ca.
No comments:
Post a Comment